
Cube Escape: Paradox is an indie quest with a unique atmosphere and unusual puzzles. Solving problems will require not only a logical approach, but also creativity.
Chapter 1
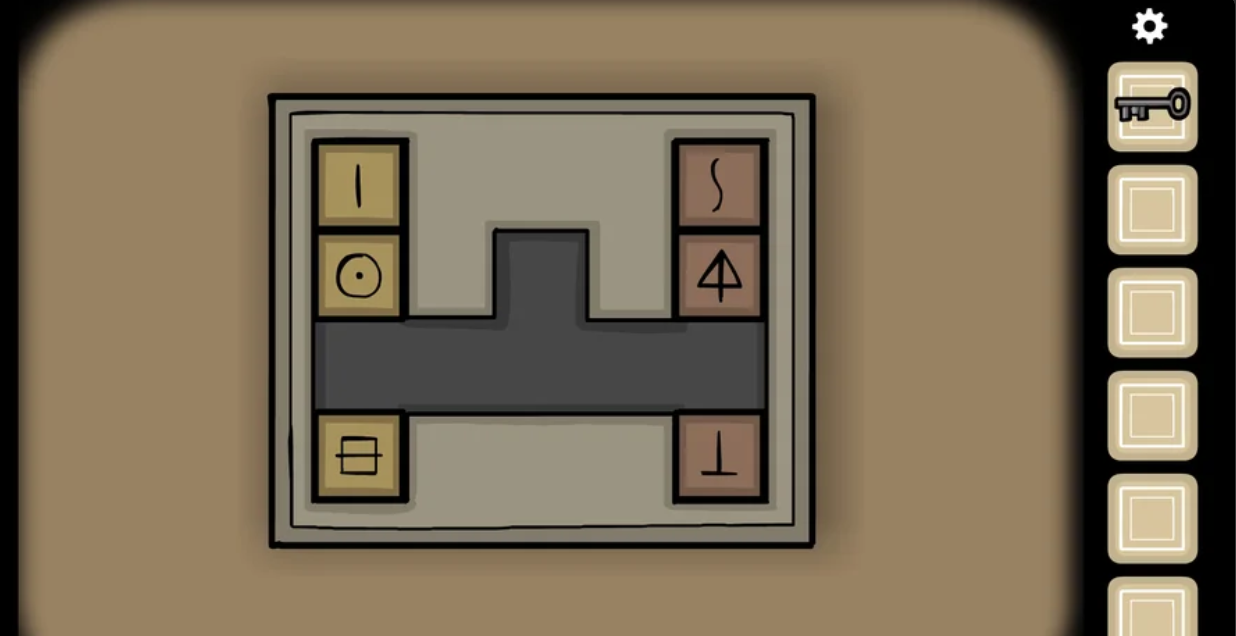
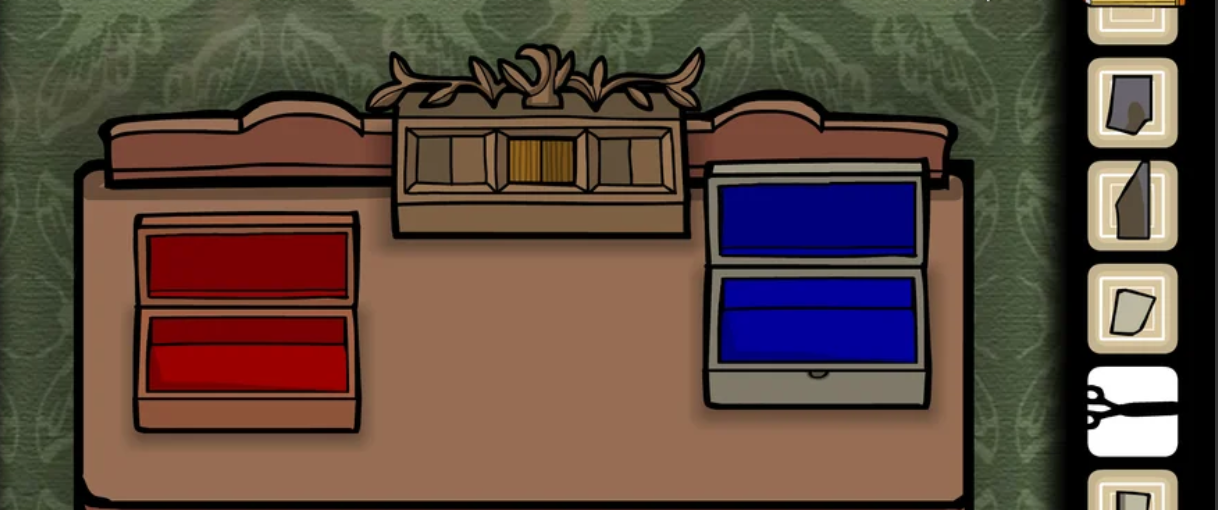
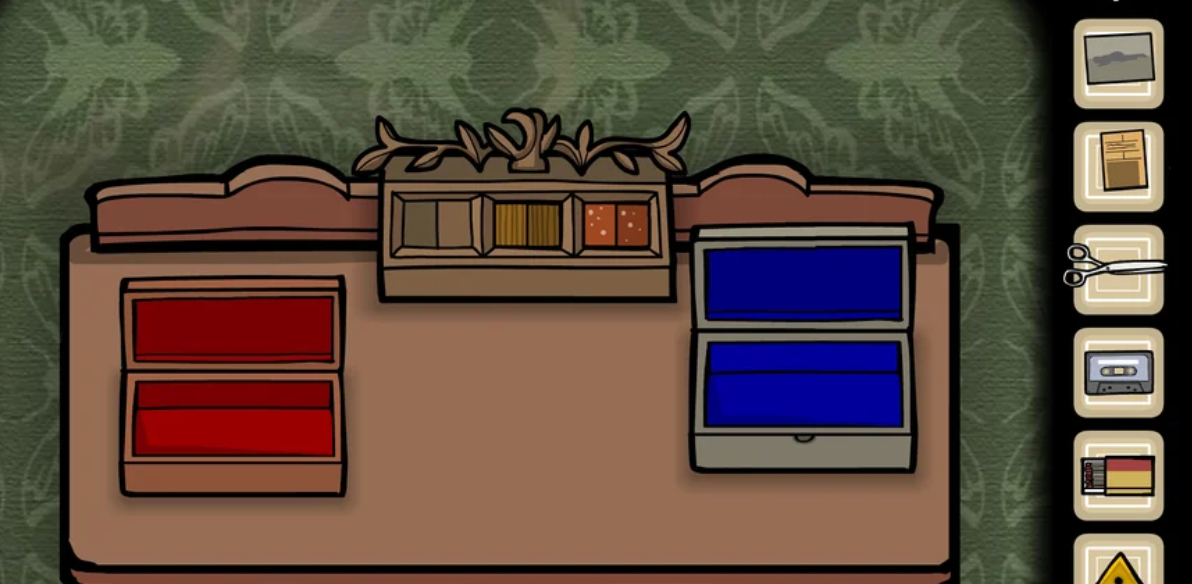
Use the arrows to move to the right and approach the bedside table with two boxes. Open the left one and take the key out of it. To get the contents of the right one, you need to solve a puzzle in which you need to swap the places of the yellow plates with the red ones using the notch in the center. By solving the puzzle you will receive a piece of the photo.
Go to the right and take the second piece of the photo from behind the picture. Examine the left bedside table and take a cigar from there. Once again, go to the right and take scissors, a pencil and the third fragment of the photo from the drawers of the bedside table. Open the bottom drawer with the key and take a wooden cube from it.
After that, remove the coat from the hanger and cut off the branch from the plant with scissors. Bring our eyes to the black switch near the door and activate it, after which we turn to the right. Here we take out the fourth piece from behind the lamp and insert the plug into the socket under the TV. Next, we go to the wall with a mirror and look into it. Transfer the coat and cigar to our reflection, then move away and insert the wooden cube into the groove on the nightstand.
Return to the door and select the last piece of the photo near it. Then we turn to the bedside table with a frame and collect a photo from scraps in it. When you are done, the photo will turn over and you will notice an inscription on it, which must be entered on a typewriter.
We enter the phrase and immediately get a sheet with a red silhouette. Paint over it with a pencil. Be careful. If you go over the edges too far, you will have to start over. It is also not necessary to completely paint over; the central part of the silhouette will be enough. If you do everything correctly, the following silhouette will appear. After you paint over the last silhouette, a key will appear on the sheet.
We take it away and use it to open the cabinet on the right. From the upper shelves, take the yellow handle and all the contents of the Evidence folder. Then go to the bottom shelf and insert the slide from the folder into the projector. Turn on the projector using the switch on the top, and then face the wall with the painting. Here apply the yellow handle to the projector screen and unfold it. Take a photo from the screen, and then move the screen to get the values of two symbols – IV for a point and V for a cross.
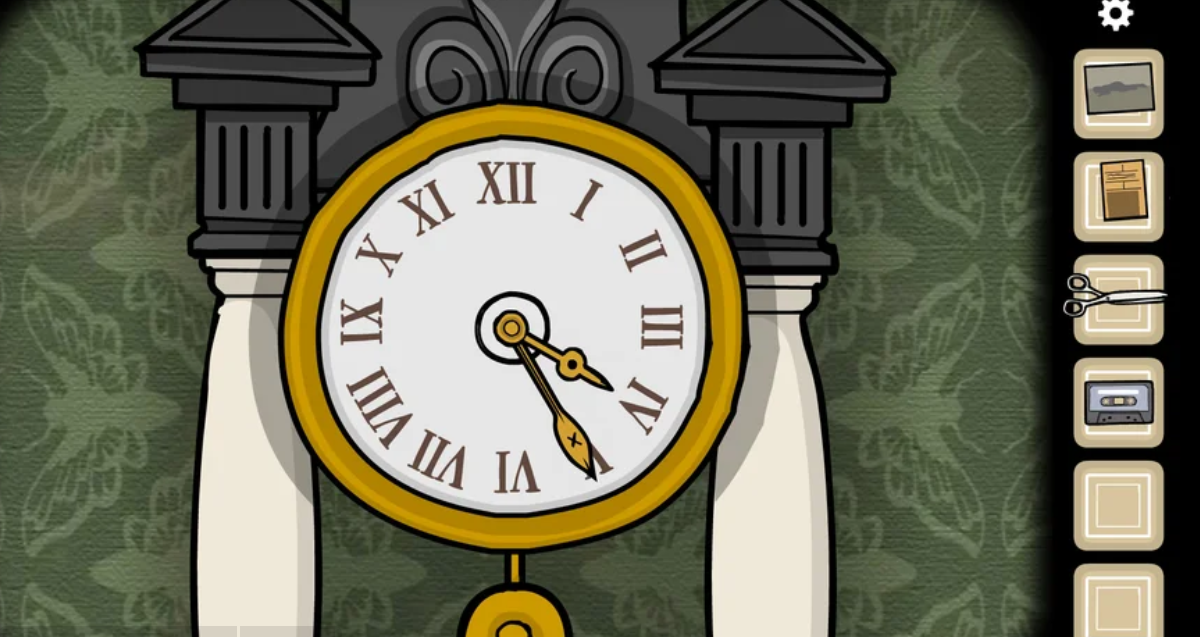
Now turn to the table clock and set the arrows with a cross and a dot according to the prompted. After that, a secret compartment with matches will open under the clock. We take them away and return to the mirror. Use the matches to light the cigar and then click on it to see what symbols the reflection will show.
We return to the cabinet and open the cabinet under the projector. We enter the symbols that were shown by reflection. If the characters are entered correctly, you will receive electrical tape.
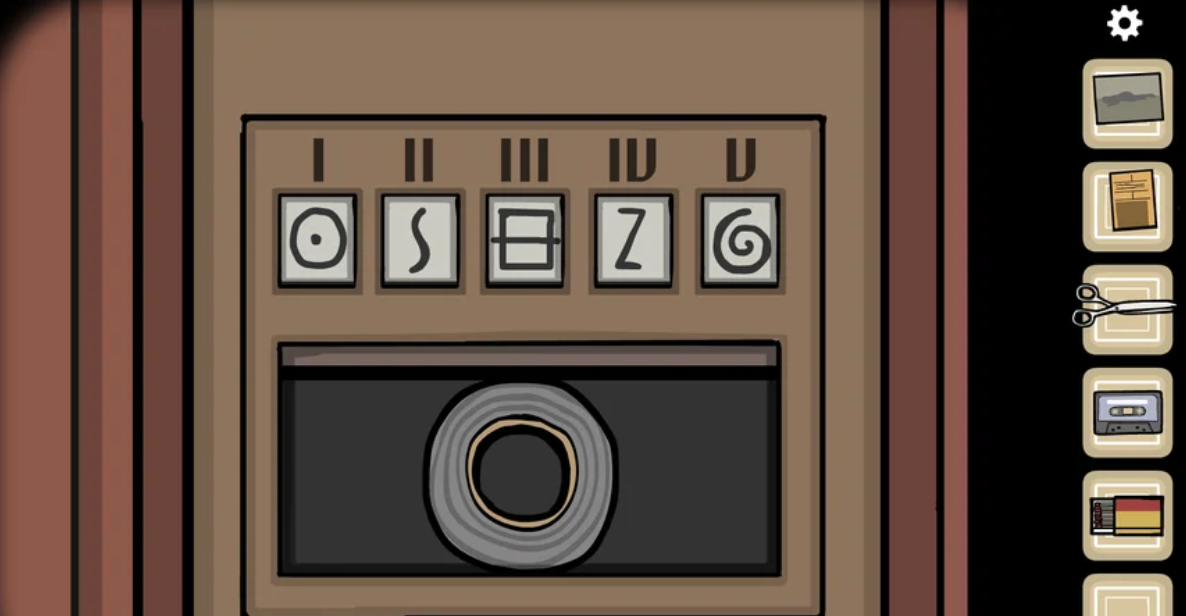
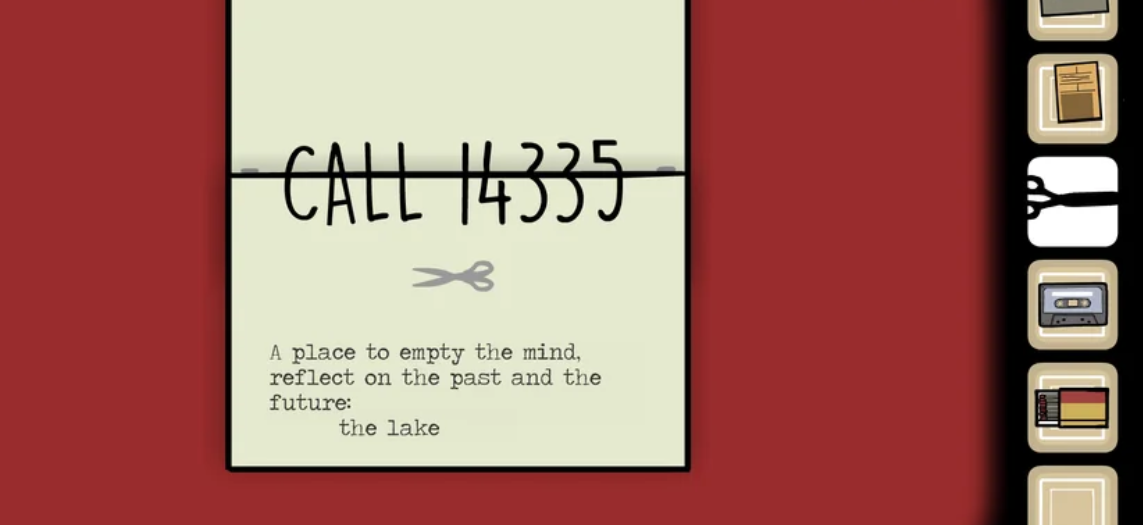
Using electrical tape, we repair the cable with the second plug under the TV. We insert the second plug into the outlet and go to the nightstand with the table clock. We use the player to listen to a cassette that mentions Channel Six Six Nine. Go to the TV and use the switches on the right to enter “669”. Then “012” and after “067”. A short video will be played, at the end of which the inscription “The Lake” will be displayed. We enter it on a typewriter, after which we get a sheet of paper. We cut it off with scissors and fold it to get the number.
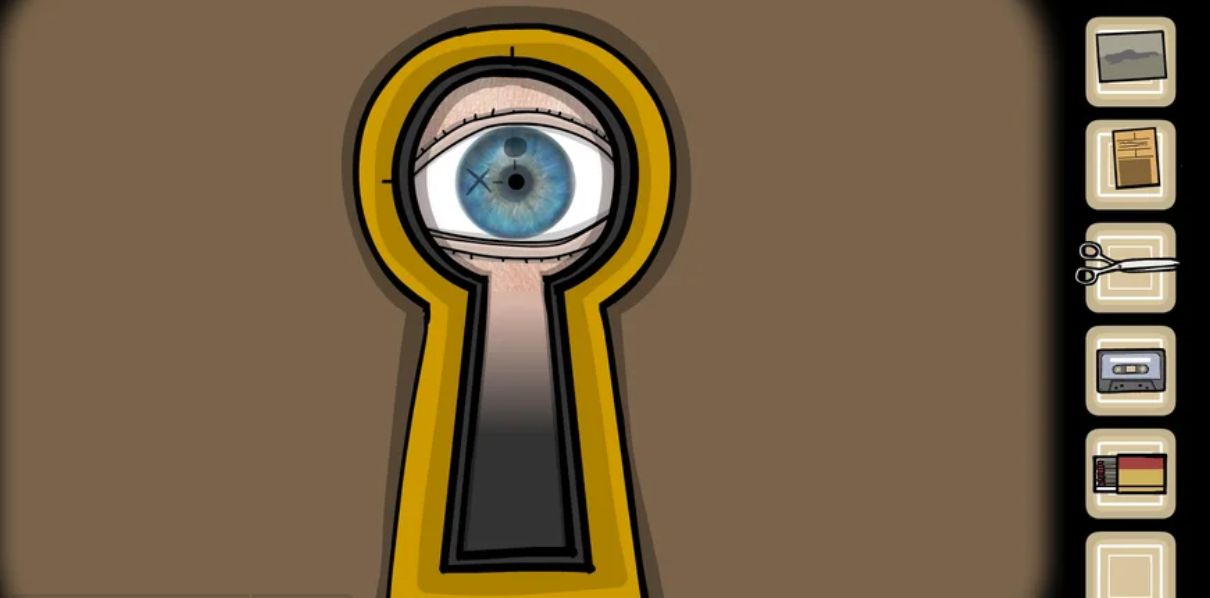
Go to the left and call the received number. After the conversation, we go to the door and look into the keyhole. On the appeared pupil of the eye, the symbols of the hour hands are depicted. We memorize them and return to the table clock, where we put the hands in the indicated position.
The clock will open the second compartment from which we select the triangular key. We pass to the mirror, take away the cigar from the reflection. Next, turn to the wall on which the picture hangs. Use the triangular key to open the drawers of the cabinet on the left. We look through the files stored here and mark those that have pictures suggesting the location of books on the shelf: Caroline Eilander, Jacob Eilander, Vincent Van Gogh, Robert “Bob” Hill, Ida Reiziger, Aldous Vanderboom. Also, do not forget to pick up the recipe from the Laura Vanderboom file. Turn our eyes to the cabinet on the right. We also open its boxes with a triangular key and take the second slide and scarf from them.
Move to the books on the shelf of the cabinet near the TV. We arrange them in the order indicated on the files.
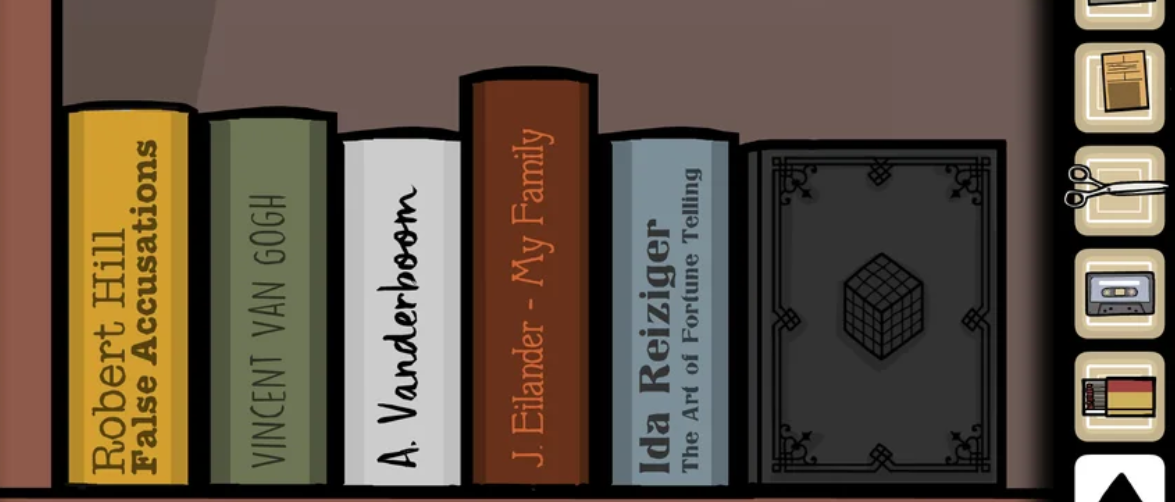
Having arranged the books according to the clues from the files open the black book and take the iron cube and the glass eye from it. We place the iron cube in the groove of the bedside table with the boxes, and insert the glass eye into the deer’s skull.
To be continued…