
Read Full Walkthrough game Heal.
Desolate. Level 1. Part 1.
Follow the instructions on the screen. Click on the icon and hold it until the circle is filled.
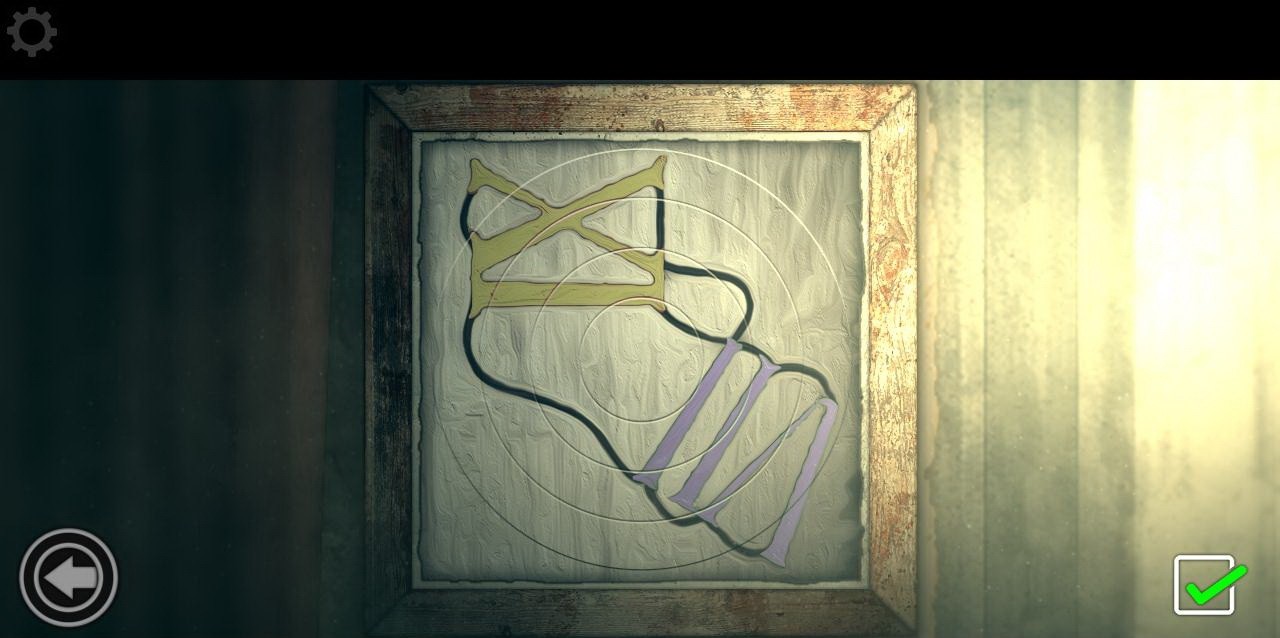
Pinch the pins and pull them down to open all four grooves. Then click on the central eye, hold down the LMB and move the board to the left to see the prompt. Remember that B = 35, the color is blue (Blue). The green checkmark on the right indicates that the puzzle is solved correctly. Hold the arrow to the left and exit the puzzle. Pass further to the right.

Click on the icon with the eye and look at the tooltip. Remember that R = 220, the color is red.
Note. The eye icon indicates that a hint can be seen here. To view the hint, move the mouse left / right without holding the button.

Continue to the right. Click on the icon with a red eye. Add up the numbers and get another hint. Remember that G = 50, the color is Green.
Note. The letters in the equality indicate the desired color.
Now move to the left. We activate the puzzle.

Using the colored sliders, we expose the recognized values in the windows. We exit from the approach.

Walkthrough Heal 
Walkthrough Heal 
Walkthrough Heal

Move to the left. Activate the puzzle. Put together a pattern by rotating circles. You are waiting for the assembled drawing to be transformed into multi-colored numbers. Follow the right. Right outside the window, activate the puzzle with the clock.
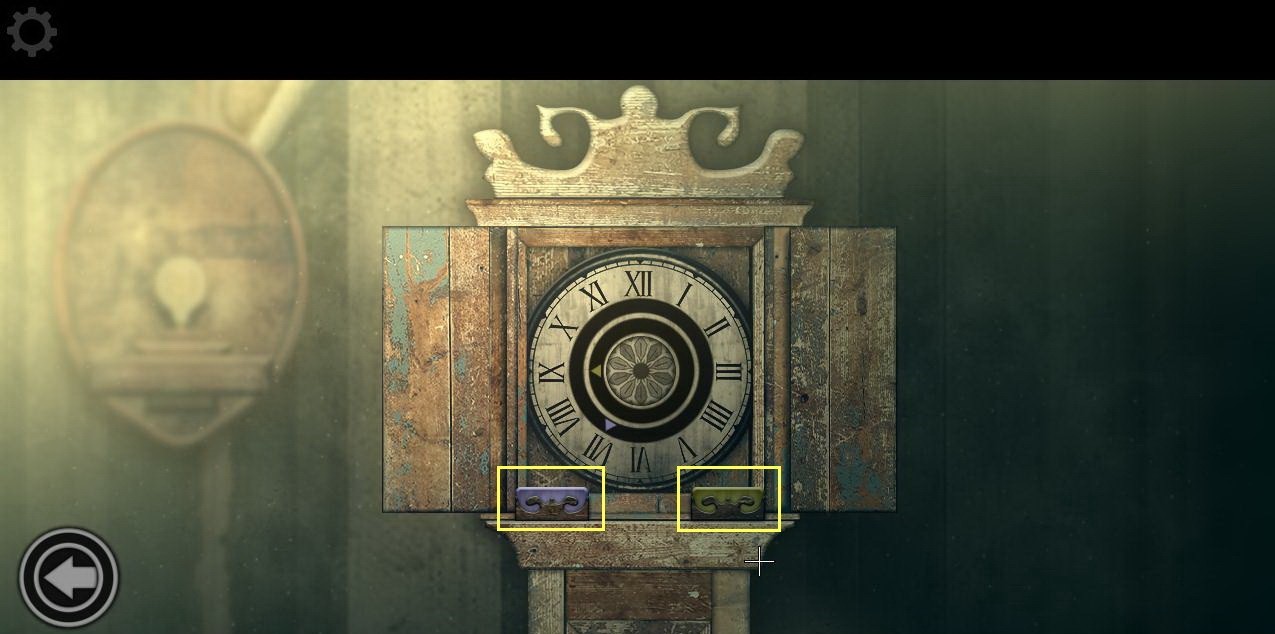
According to the prompt with the collected circles, you need to set the correct time on the dial. Click on the left (lilac) rectangle, set the time of VII hours on the dial. Click on the right (olive) rectangle. Set the time of IX hours on the dial.
The level is completed, all puzzles are solved. Leave the level by clicking the exit icon above the door.
Desolate. Level 2. Part 2.
Click on the eye icon to see a hint. We pass to the right, click on the icon with a red eye to see the second prompt.
Note. The red eye icon is the second level of the clue, the subconscious. Indicates deeper character memories.

Activate the puzzle. Rotate the circle with the LMB pressed to the left (counterclockwise) to open the three digits. After that, rotate the circle to the right (clockwise) to open the last digit. This is our first phone number, remember it. The puzzle is solved.

Walkthrough Heal 
Walkthrough Heal
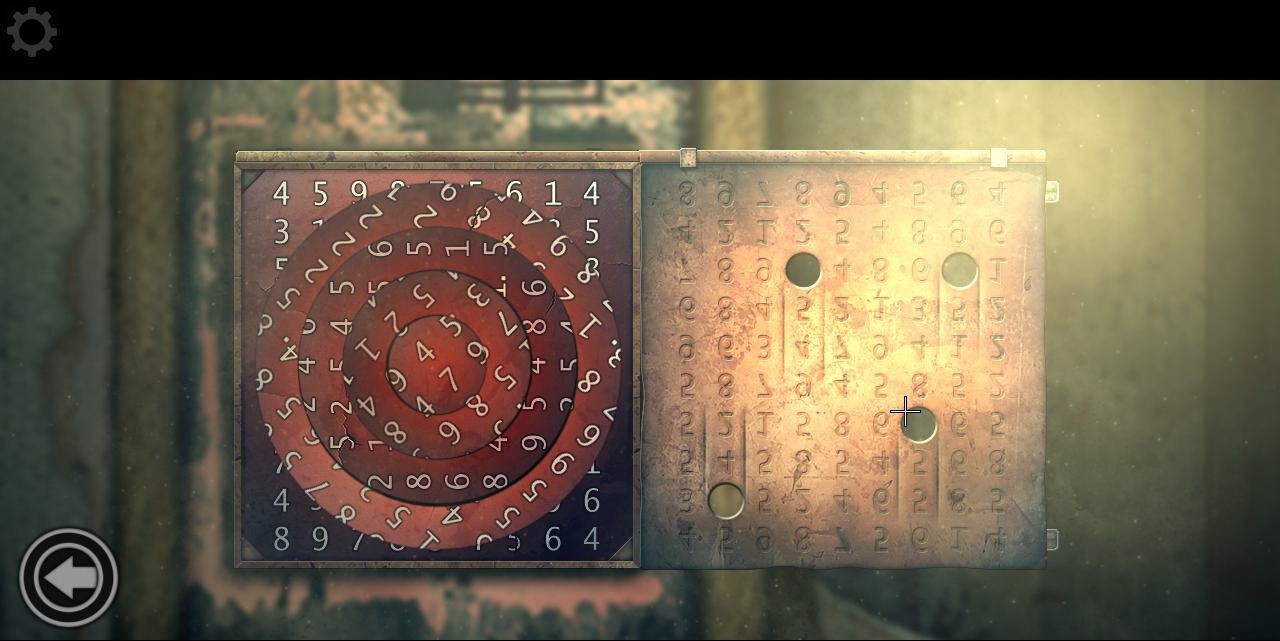
Activate the puzzle with four holes. Hold LMB and pull out two metal guides to the right. Hold LMB, shift to the right the shutter with four round holes. Rotate the circles, restore the digital drawing.

Walkthrough Heal 
Walkthrough Heal 
Walkthrough Heal
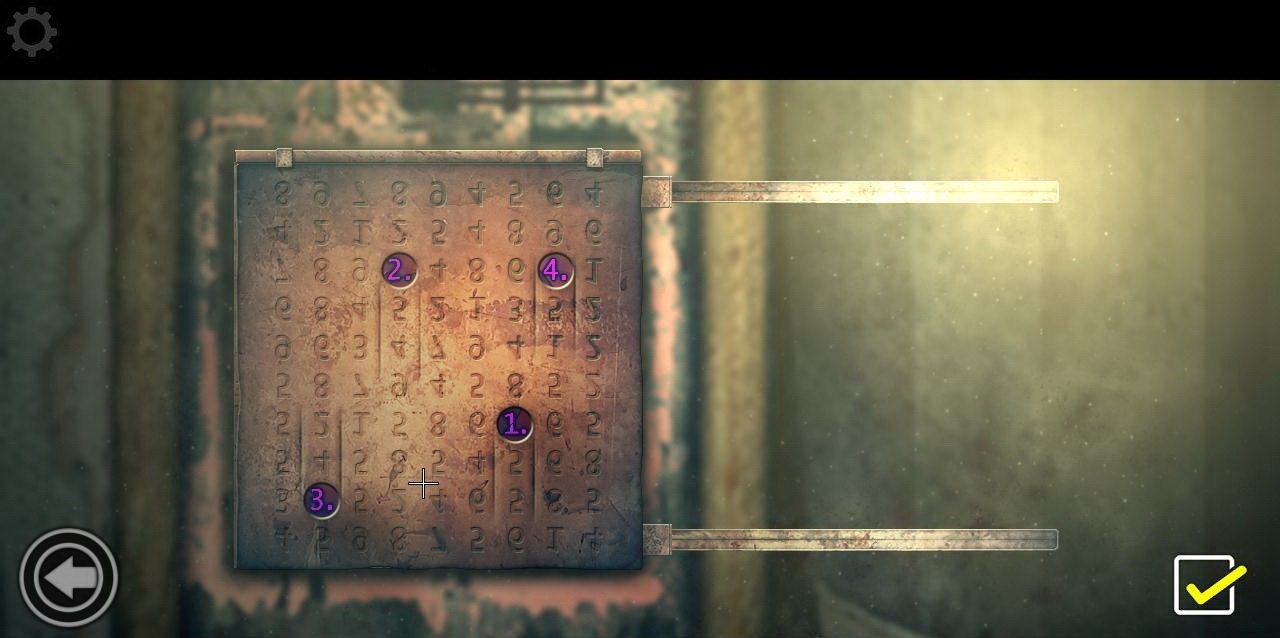


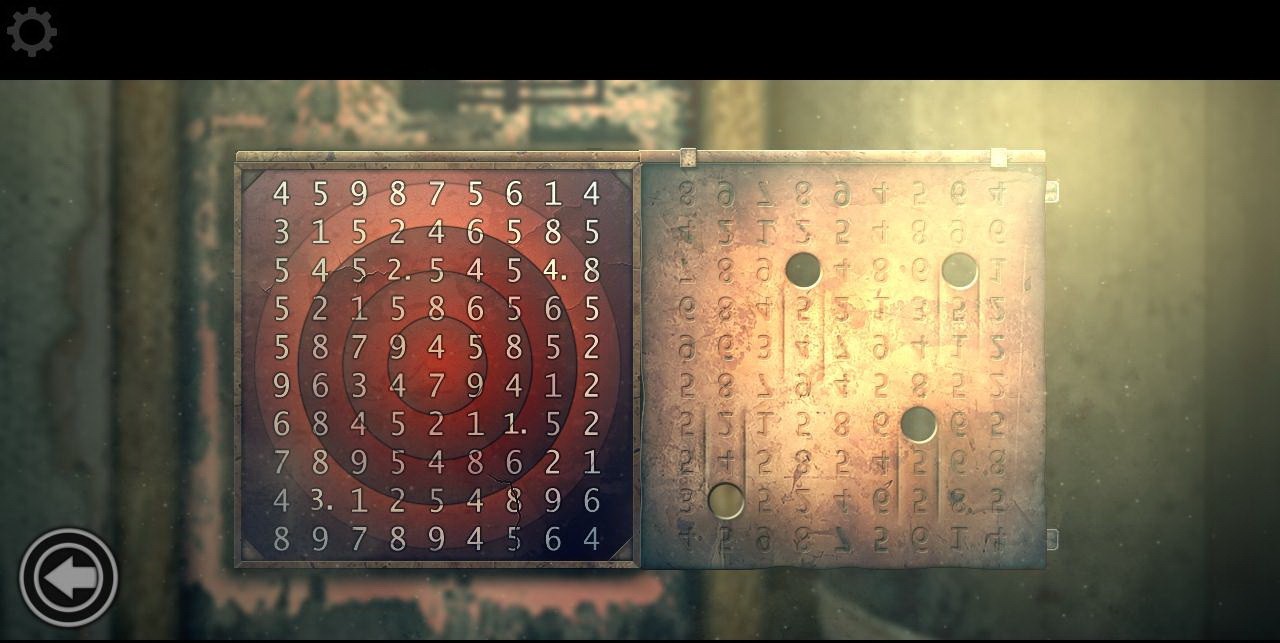
Again, return the board with the holes in place. In one case you see pink numbers in the holes. This is the reading order of the following green numbers. Move the board to the left and now you can read the number correctly: 5518. This is our second phone number, remember it. Approach the phone on the nightstand, activate the puzzle.

Walkthrough Heal 
Walkthrough Heal 
Walkthrough Heal
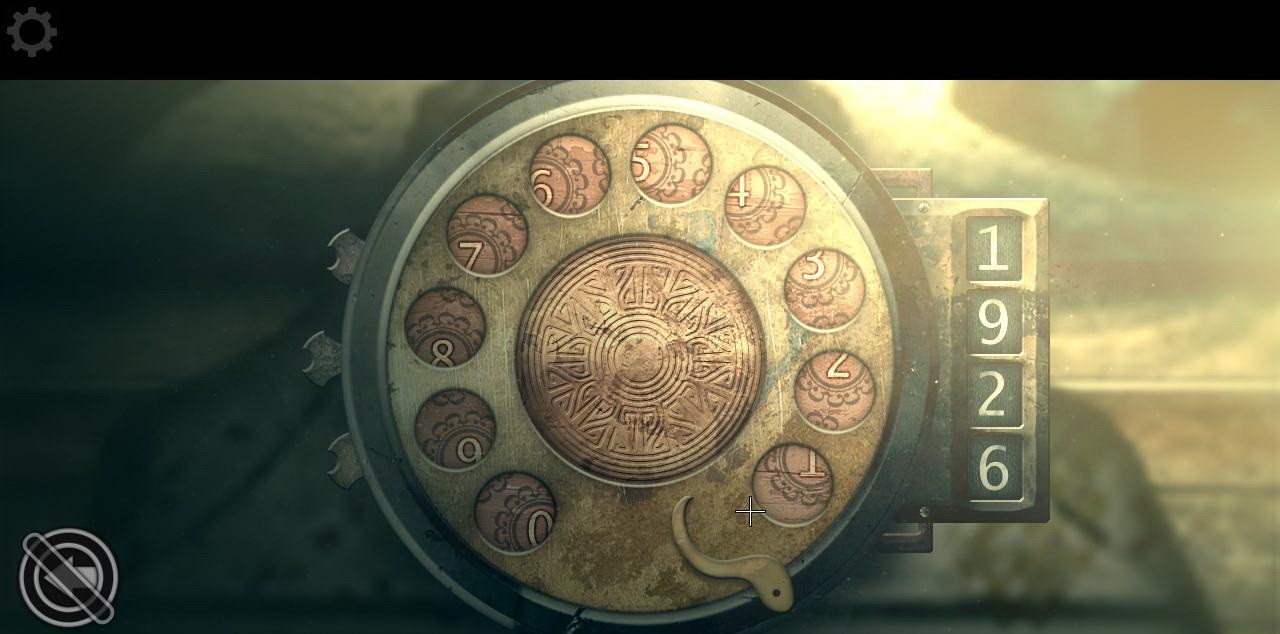
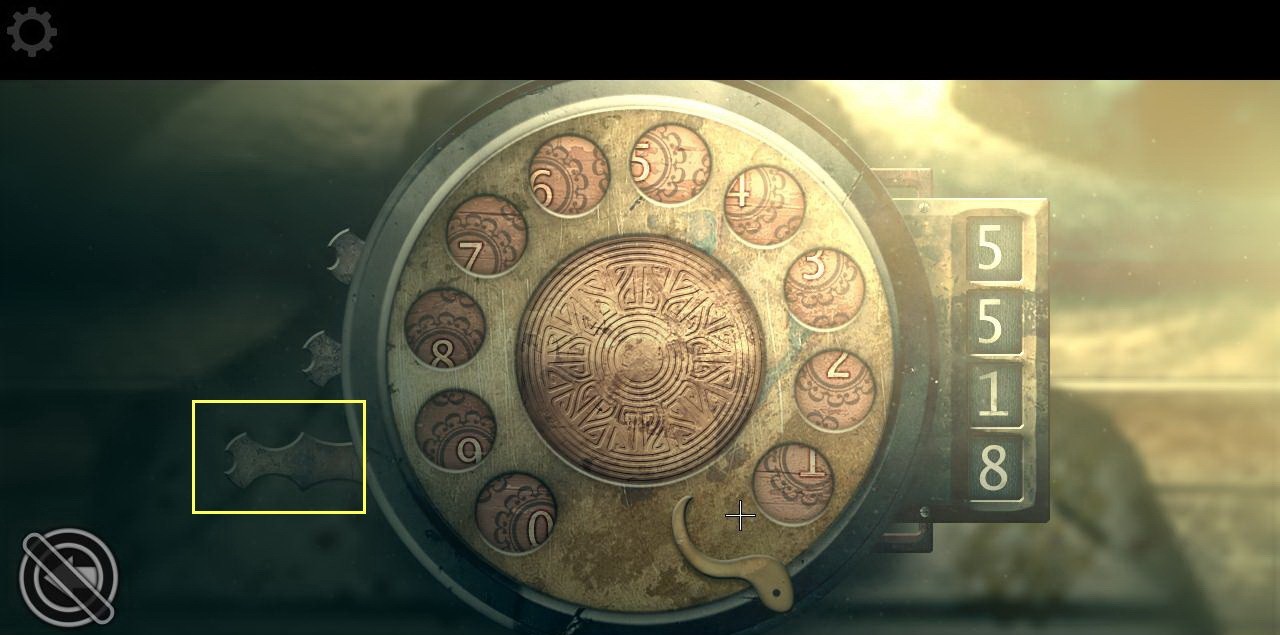
Hold the LMB and rotate the telephone dial to dial the first telephone number 1926 on it. A metal plate extends from the bottom left. Then dial the second telephone number – 5518. At the top left, the second plate extends, on which you see a hint in the form of an acute angle. Leave this puzzle, and approach the puzzle with sharp corners, activate it.

Walkthrough Heal
Look at the tips and set sharp corners as indicated in the tips. The puzzle is lit in green. This suggests that the corners are set correctly. Pull the slider on the left. See how the numbers partially appear at the top. Move both halves of the puzzle and see the number 4036. This is our third phone number, remember it.

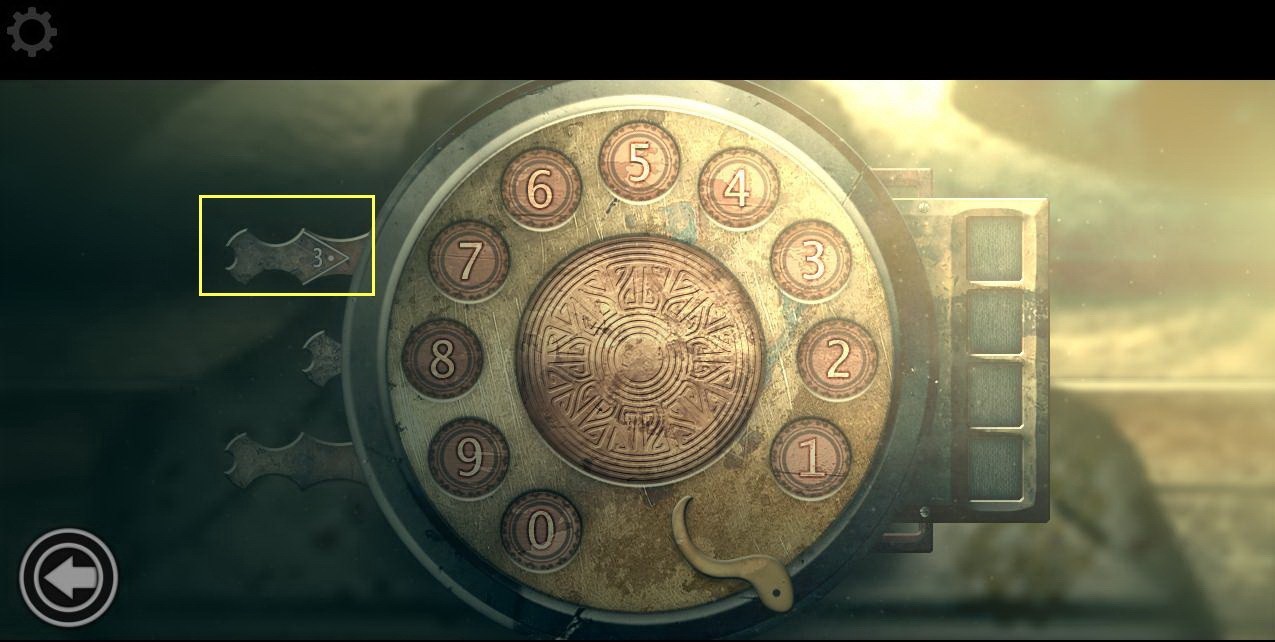
Head to the telephone, enter the approximation and dial the third number: 4036. The third plate extends to the left and the central circle with the slider opens. Lower it down. The puzzle is solved. Exit from the approach.
All puzzles in this location have been resolved, so click on the exit icon and leave this level.
Watch the cut-scene and press the notes that appear on the screen on the virtual keys. Correctly pressed notes are colored in green, and erroneous notes in red. D # (2 times), F, C # (2 times), E.